Duplicate Objects Along Curve
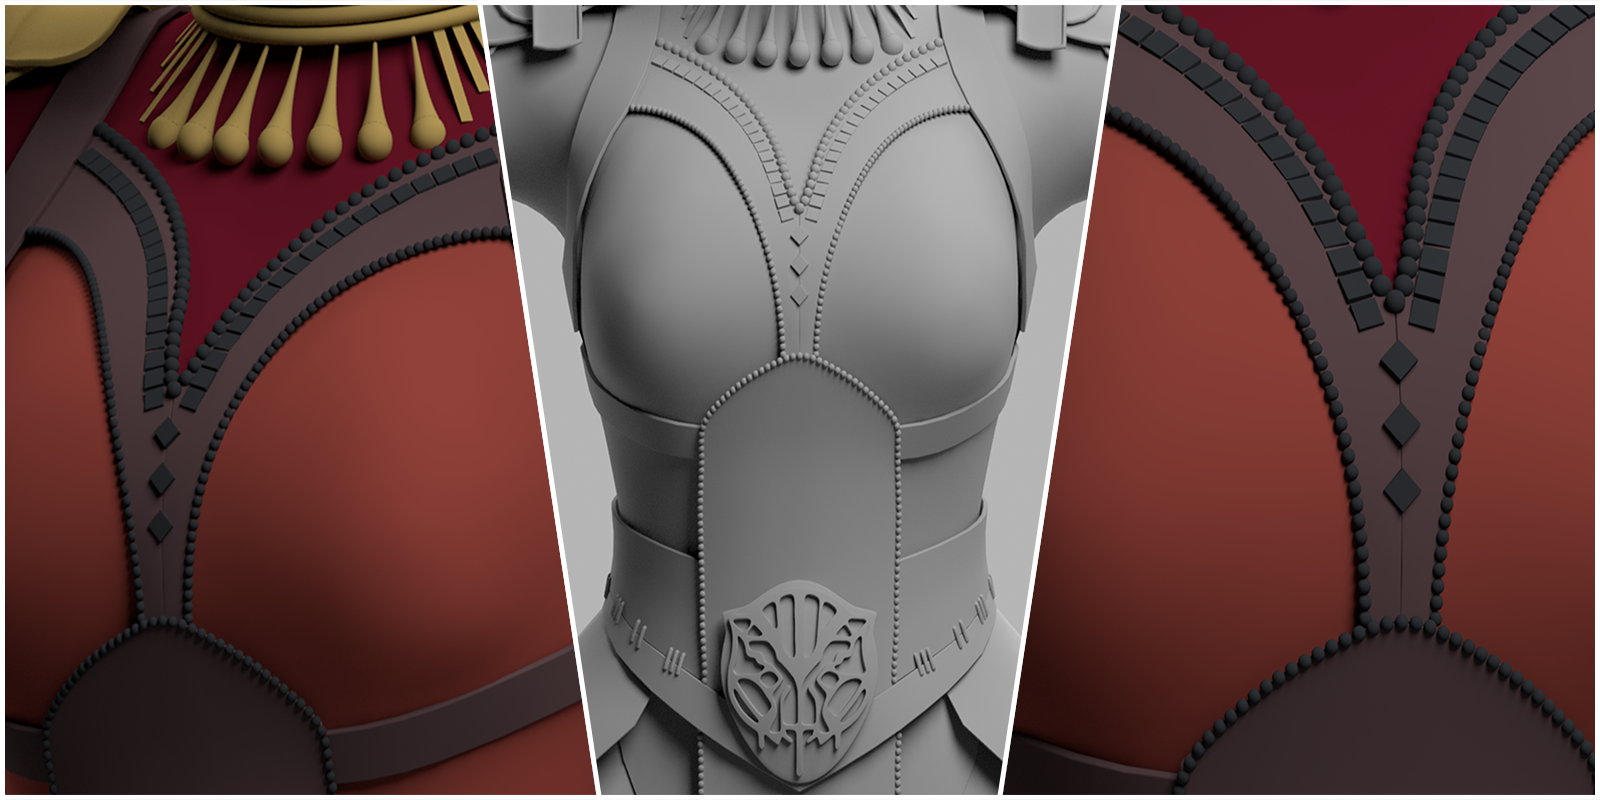
beads
In this post, I will describe how we can duplicate objects along a curve using Maya Mash. For the Dora Milaje model, I had to place the beads on a leather jacket. After a bit of research I came to the conclusion that Maya Mash would be a good way of doing that.
I hope this article will inspire you to explore and discover new ways to address the modelling challenges you face every day.
Create Curve
The first thing we need is a curve. There are different ways of creating curves, what I did is just selected edges on the mesh and used the option Modify > Convert > Polygon Edges To Curve. Once you have the curve you can smooth it depending on your needs by using the option in Modelling menu > Curves > Smooth.
create-curve
Mash Network
We then select the object that we want to duplicate along a curve and create a Mash network by using the option FX Menu > Mash > Create Mash Network.
mash-network
Add Curve Node
The Mash node gives you an option of adding curve node by using the option Add Node > Add Curve node, Then simply drag and drop the curve into the Input Curves tab.
curve-node
Mash Distribute
In the Mash_Distribute node set “Distribution type” to “Initial State”.
mash-distribute
Mash Curve
In the Mash_Curve node set “Step” to 1 and “Animation speed” to 0. I used “Offset Along Curve” to adjust the start position of the beads.

mesh-curve
Number Of Points
In the Mash_Distribute node adjust “Number of points”.
number-of-points
Thank you for reading! Hope you find some of the information useful to your work.